Best Way to Warm Up Clay
Introduction
If you’ve ever opened a fresh block of sculpting clay and tried to push a tool into it, you know the feeling. It can be hard as a brick.
Many sculpting clays, especially oil-based modeling clays, are designed to hold their shape. That means they can be stiff when you first start working with them. The good news is that clay becomes much easier to sculpt once it’s slightly warmed.
Professional sculptors almost always warm their clay before starting a project. Softening the clay improves workability, helps tools glide smoothly, and makes it easier to refine forms.
There are several ways to warm clay safely. Some methods are simple and require nothing more than sunlight. Others involve tools like convection ovens or clay warmers used in professional studios.
In this guide we’ll look at the best way to warm up clay, the tools sculptors use, and a few important safety warnings to keep your clay usable.
Why Sculptors Warm Up Clay Before Sculpting
The first time I tried sculpting with a fresh block of oil-based clay, I thought something was wrong with the material. I pushed my thumb into it and nothing happened. The clay barely moved. It felt more like a brick than something you could sculpt with.
Later I learned that this is normal. Many sculpting clays are designed to be firm at room temperature so they hold their shape while you're working. But once the clay is warmed up a bit, it becomes much easier to manipulate.
Warming sculpting clay is one of those small studio habits that makes a big difference. When the clay is soft, tools move smoother, edges blend better, and your hands don't get tired as fast.
Here are the main ways sculptors warm up clay.
Use Sunlight to Soften Clay
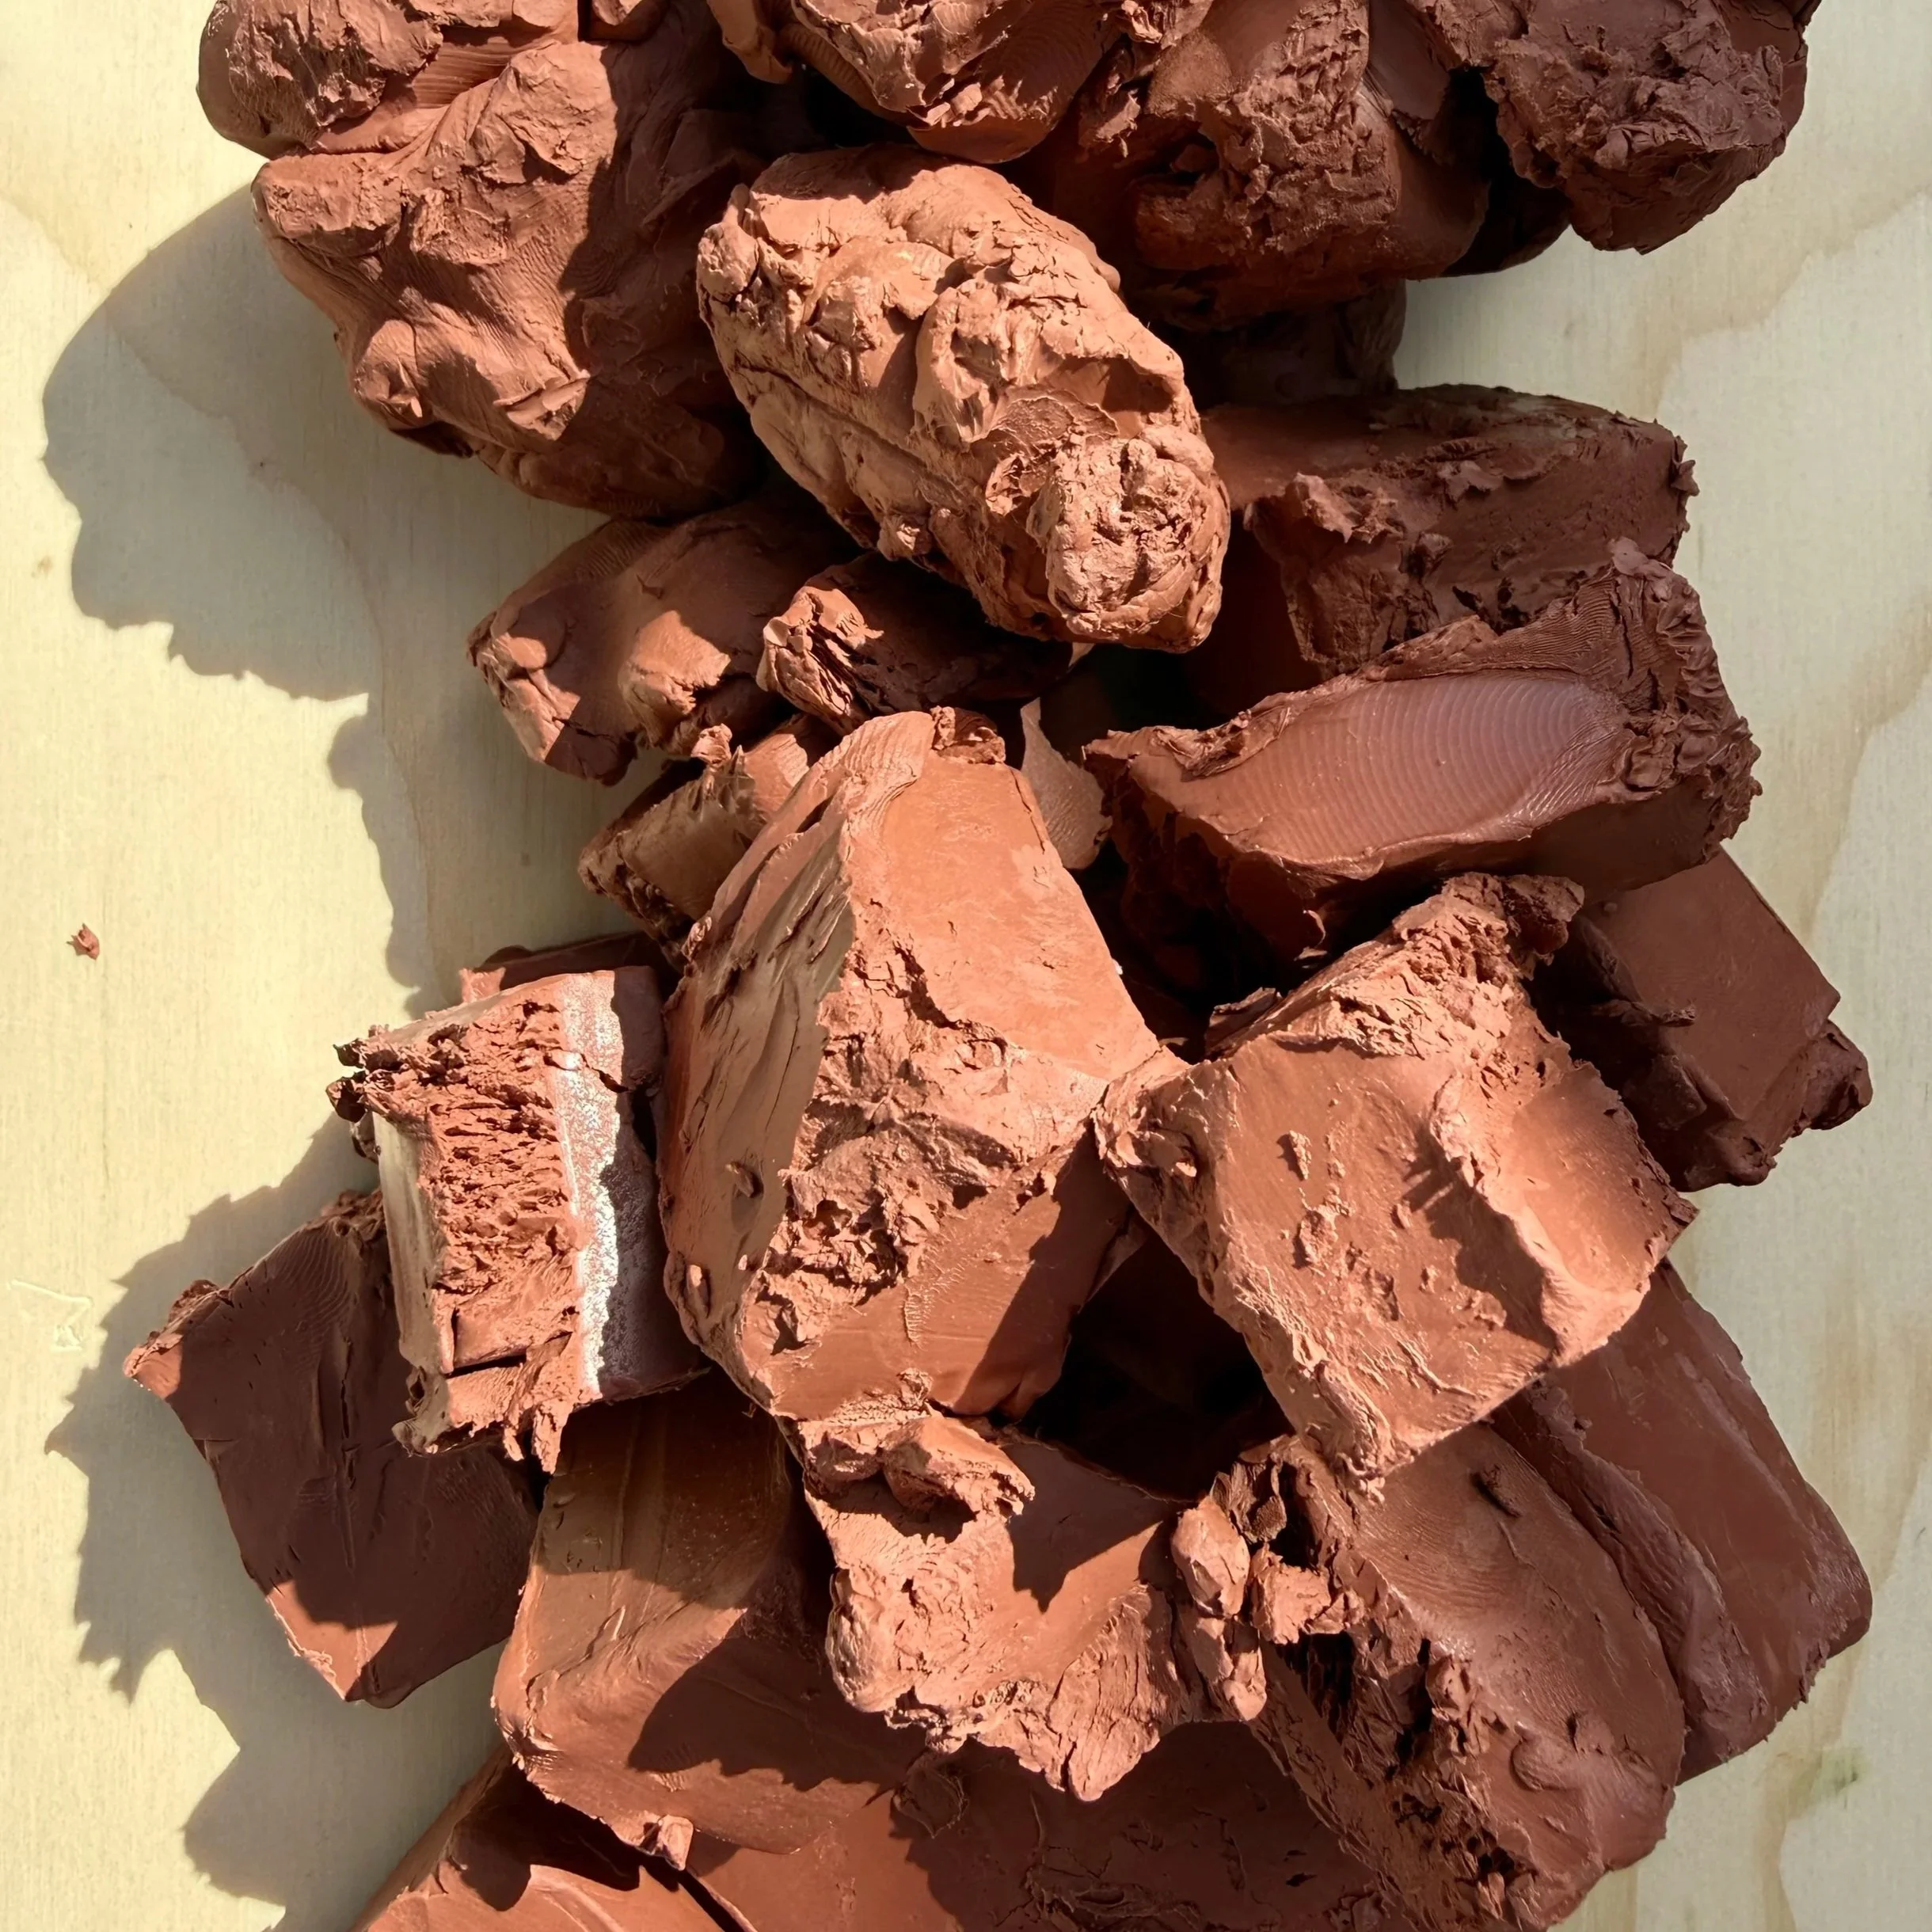
The easiest method is also the oldest one. Just put the clay in direct sunlight.
I used to leave a few blocks of modeling clay near a window before starting a sculpting session. After about twenty minutes the clay would soften just enough to make it workable. It’s simple but it works surprisingly well.
Things that help with this method:
Rotate the clay so both sides warm evenly
Break large blocks into smaller pieces first
Check the clay every 10–15 minutes
Sunlight is great for small amounts of clay. The only downside is that it depends on the weather and where your studio is located.
Use a Heat Gun if You Need Quick Heat
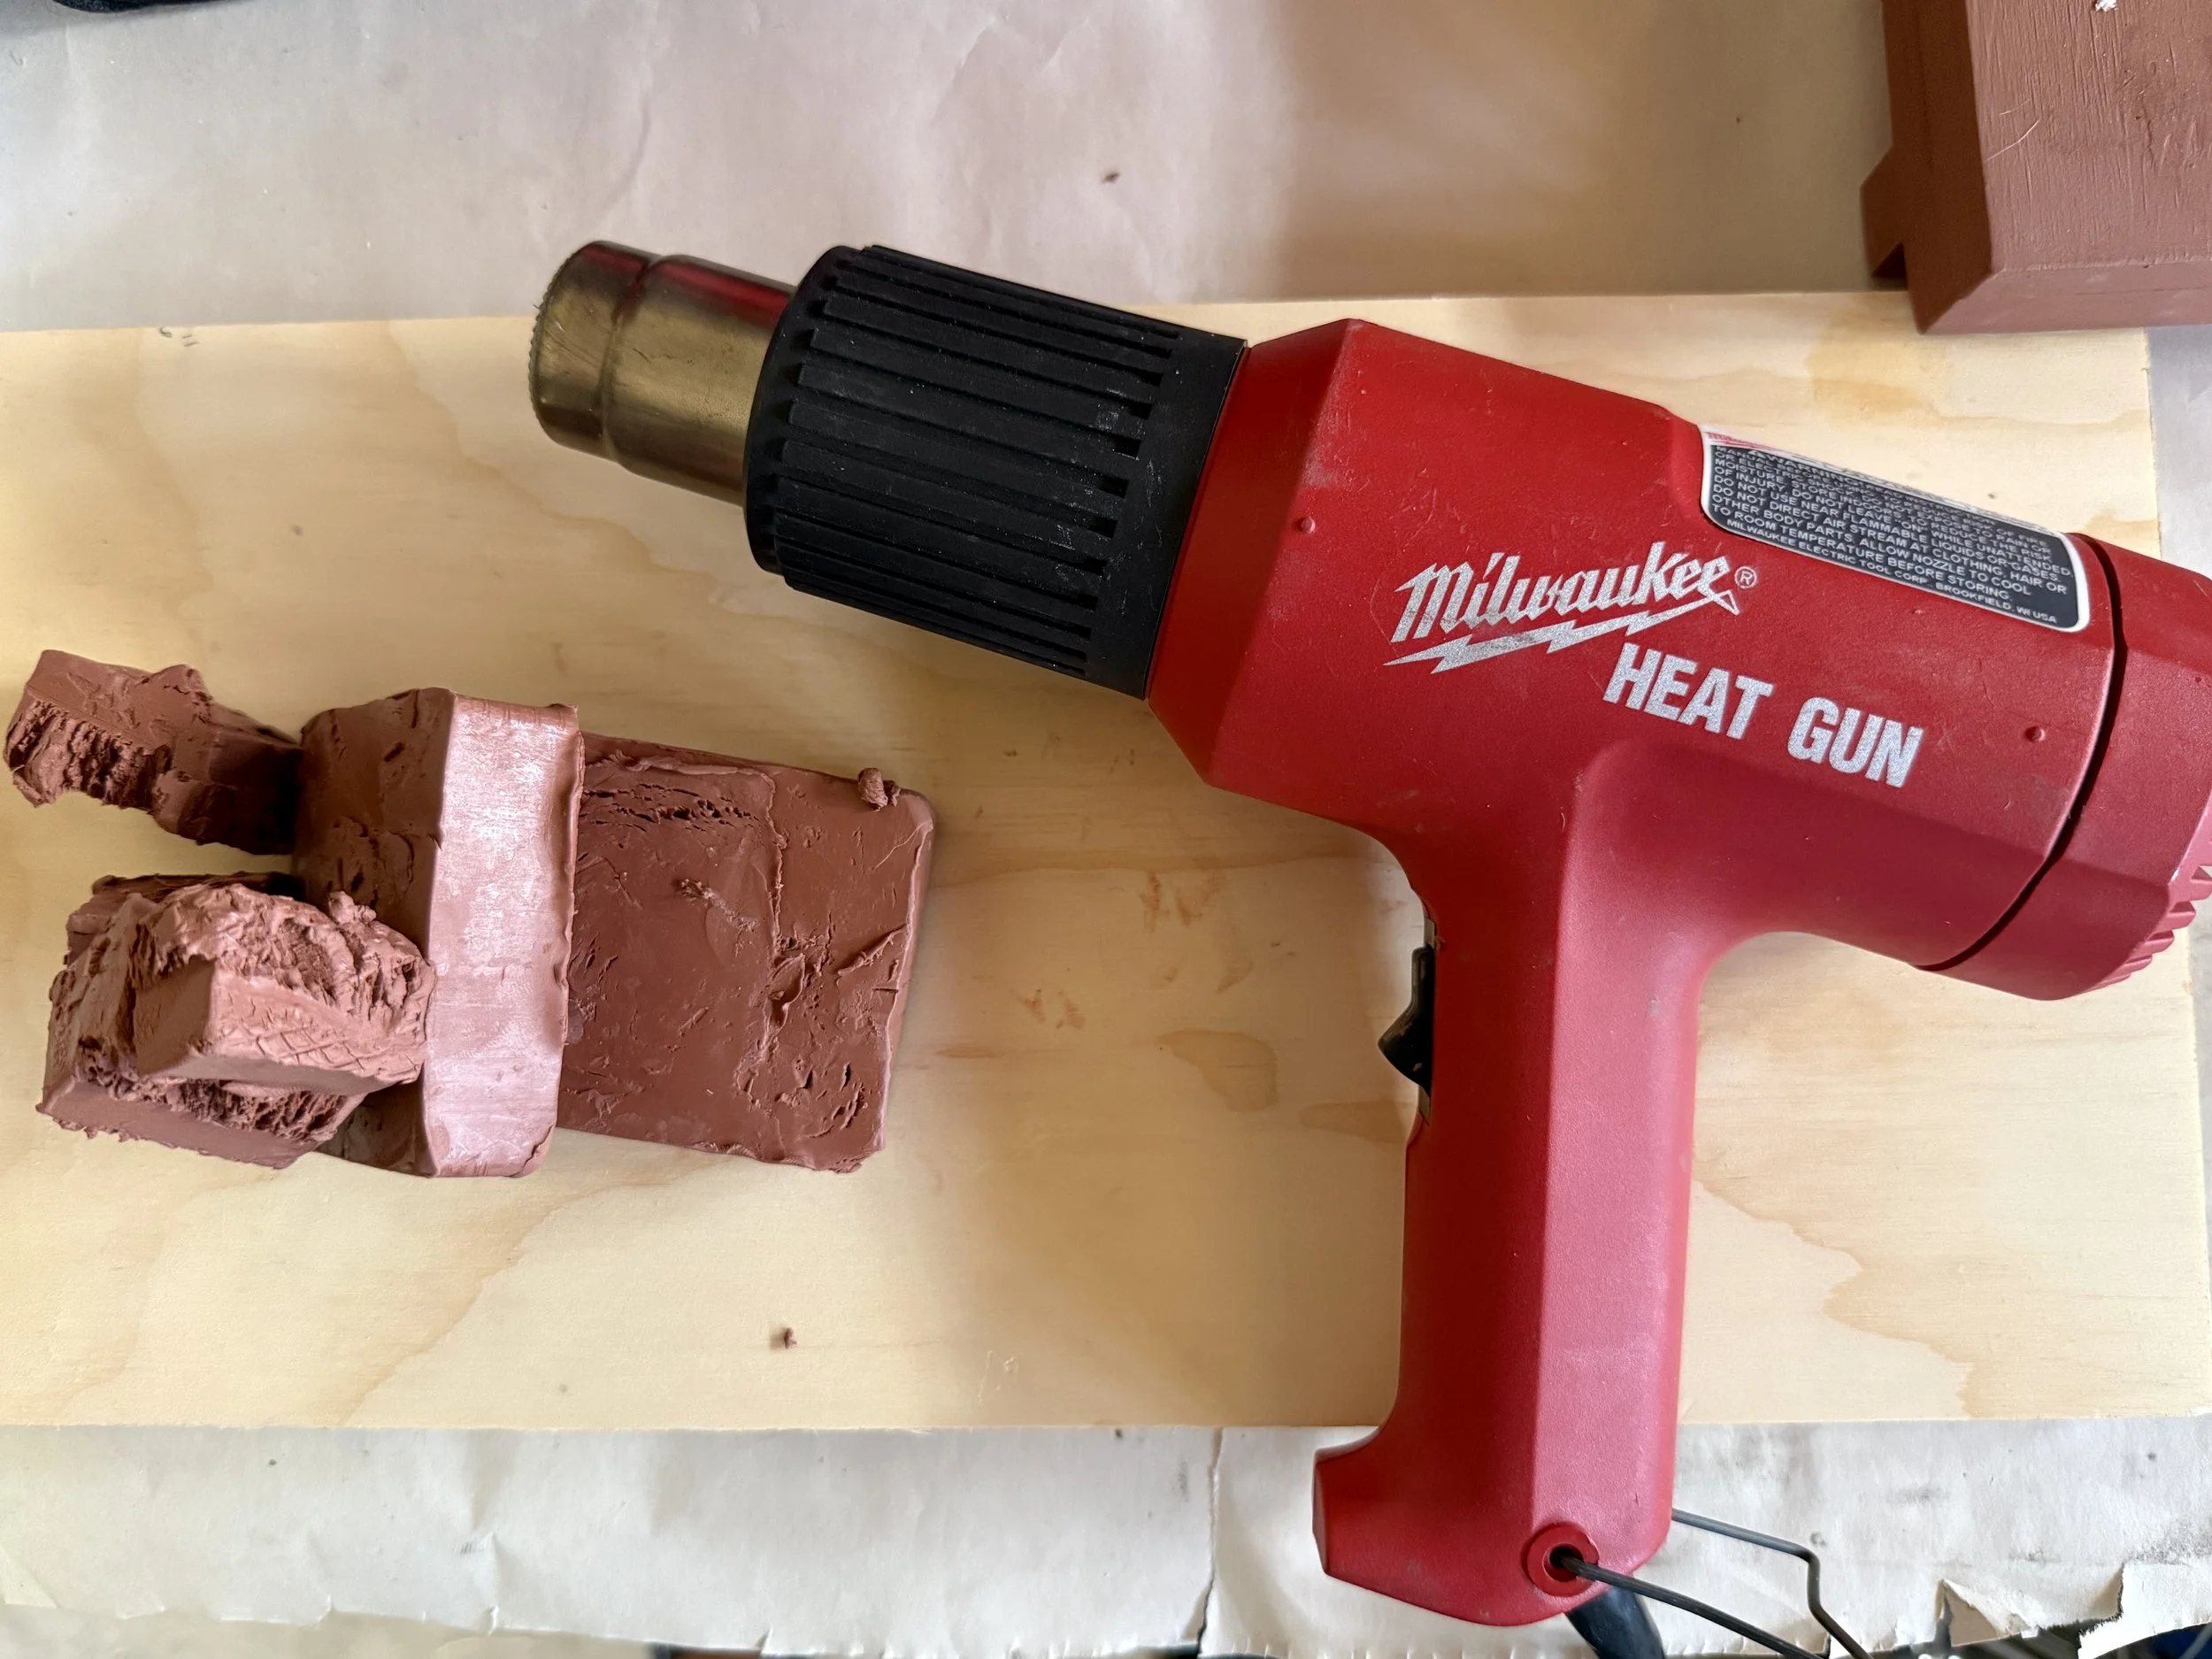
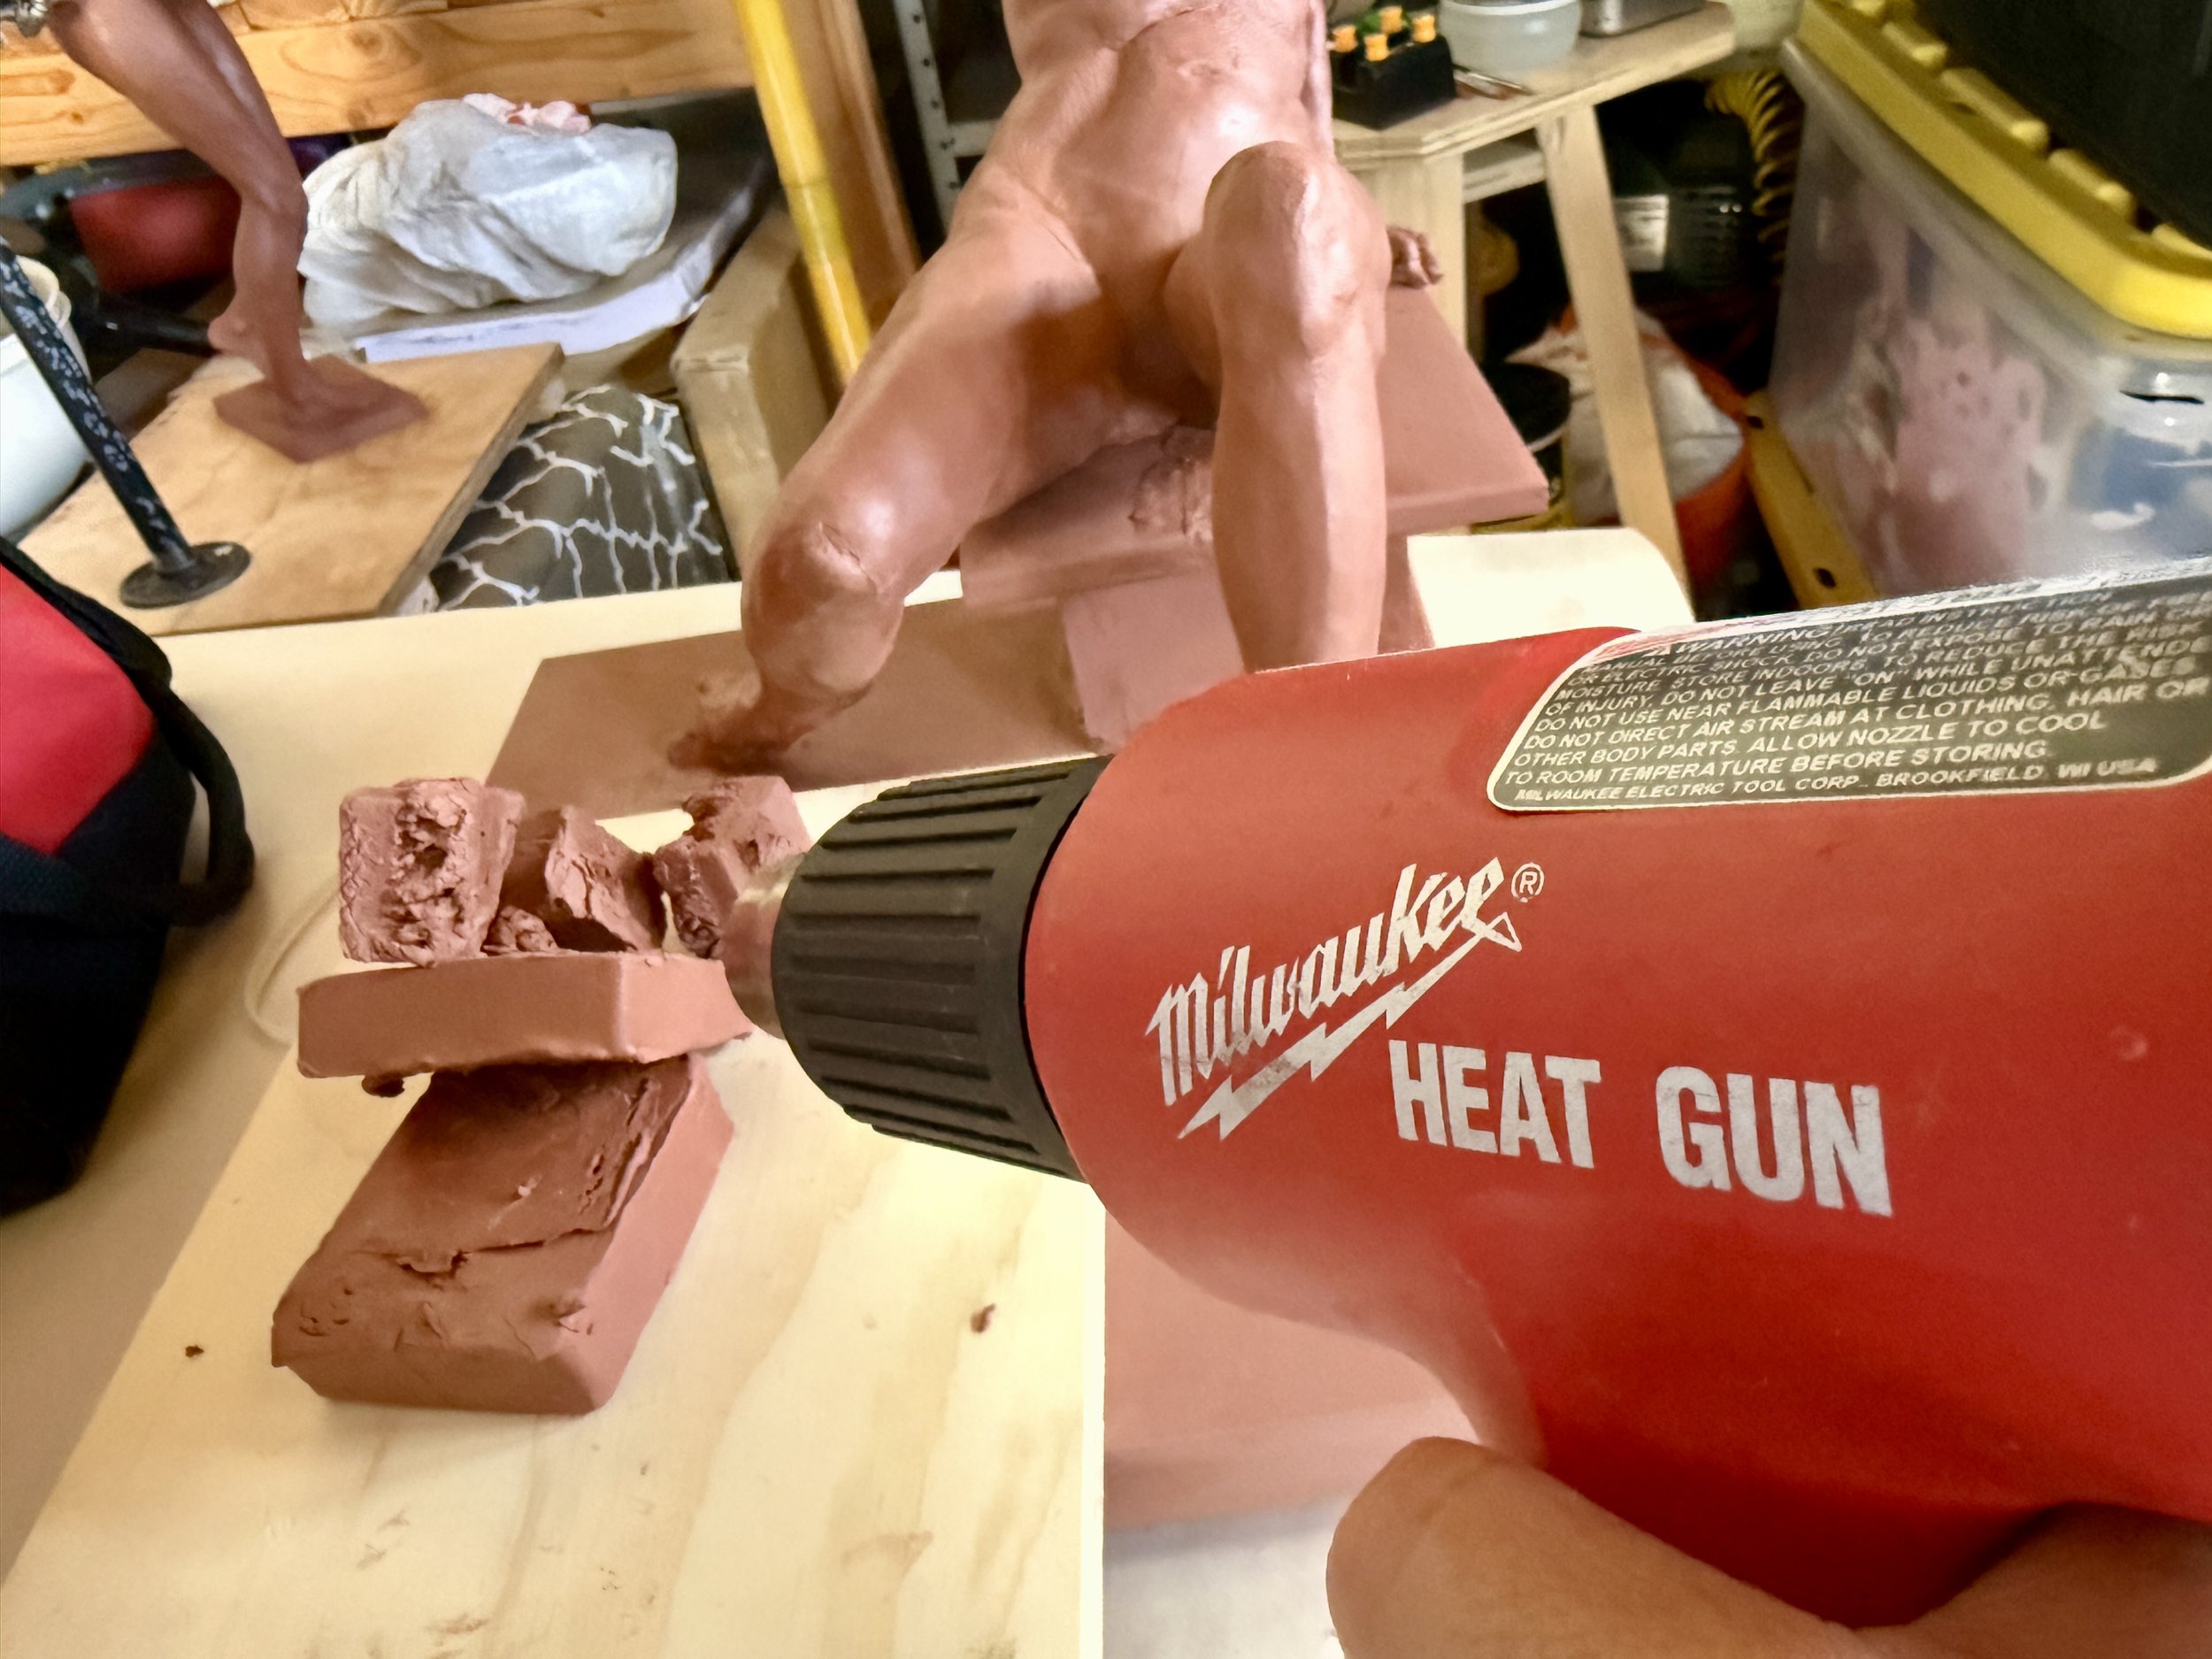
If sunlight isn’t available, a heat gun can soften clay pretty fast.
I’ve used a heat gun many times when a sculpture needed a little extra clay added and the block was too stiff to work with. A few seconds of warm air makes a big difference.
Tips when using a heat gun:
Keep the gun moving constantly
Do not aim heat at one spot for too long
Warm the clay gradually
Test softness with a sculpting tool
A heat gun works fine, but it’s not my favorite option. The heating can be uneven if you rush it.
Use a Convection Oven for Consistent Warming
If you sculpt regularly, a convection oven is one of the best clay warmers you can use.
Convection ovens circulate warm air, which means the clay heats evenly. Many professional sculpture studios use them to soften multiple blocks of clay before a project starts.
Benefits of convection ovens:
Consistent temperature
Even warming
Good for warming several blocks of clay
Reliable for studio use
When the clay warms slowly in an oven, it becomes soft all the way through instead of just on the surface.
Use a Proofing Oven for Large Projects
Large sculptures require a lot of clay. That’s where proofing ovens come in.
Proofing ovens are commonly used in bakeries, but they’re also used in sculpture studios. They maintain a steady low temperature, which is ideal for softening large batches of modeling clay.
Proofing ovens are useful when:
Preparing clay for large sculptures
Softening multiple clay blocks
Keeping clay warm during long sculpting sessions
For big projects this method saves a lot of time.
A Torch Can Help Weld Clay Pieces Together
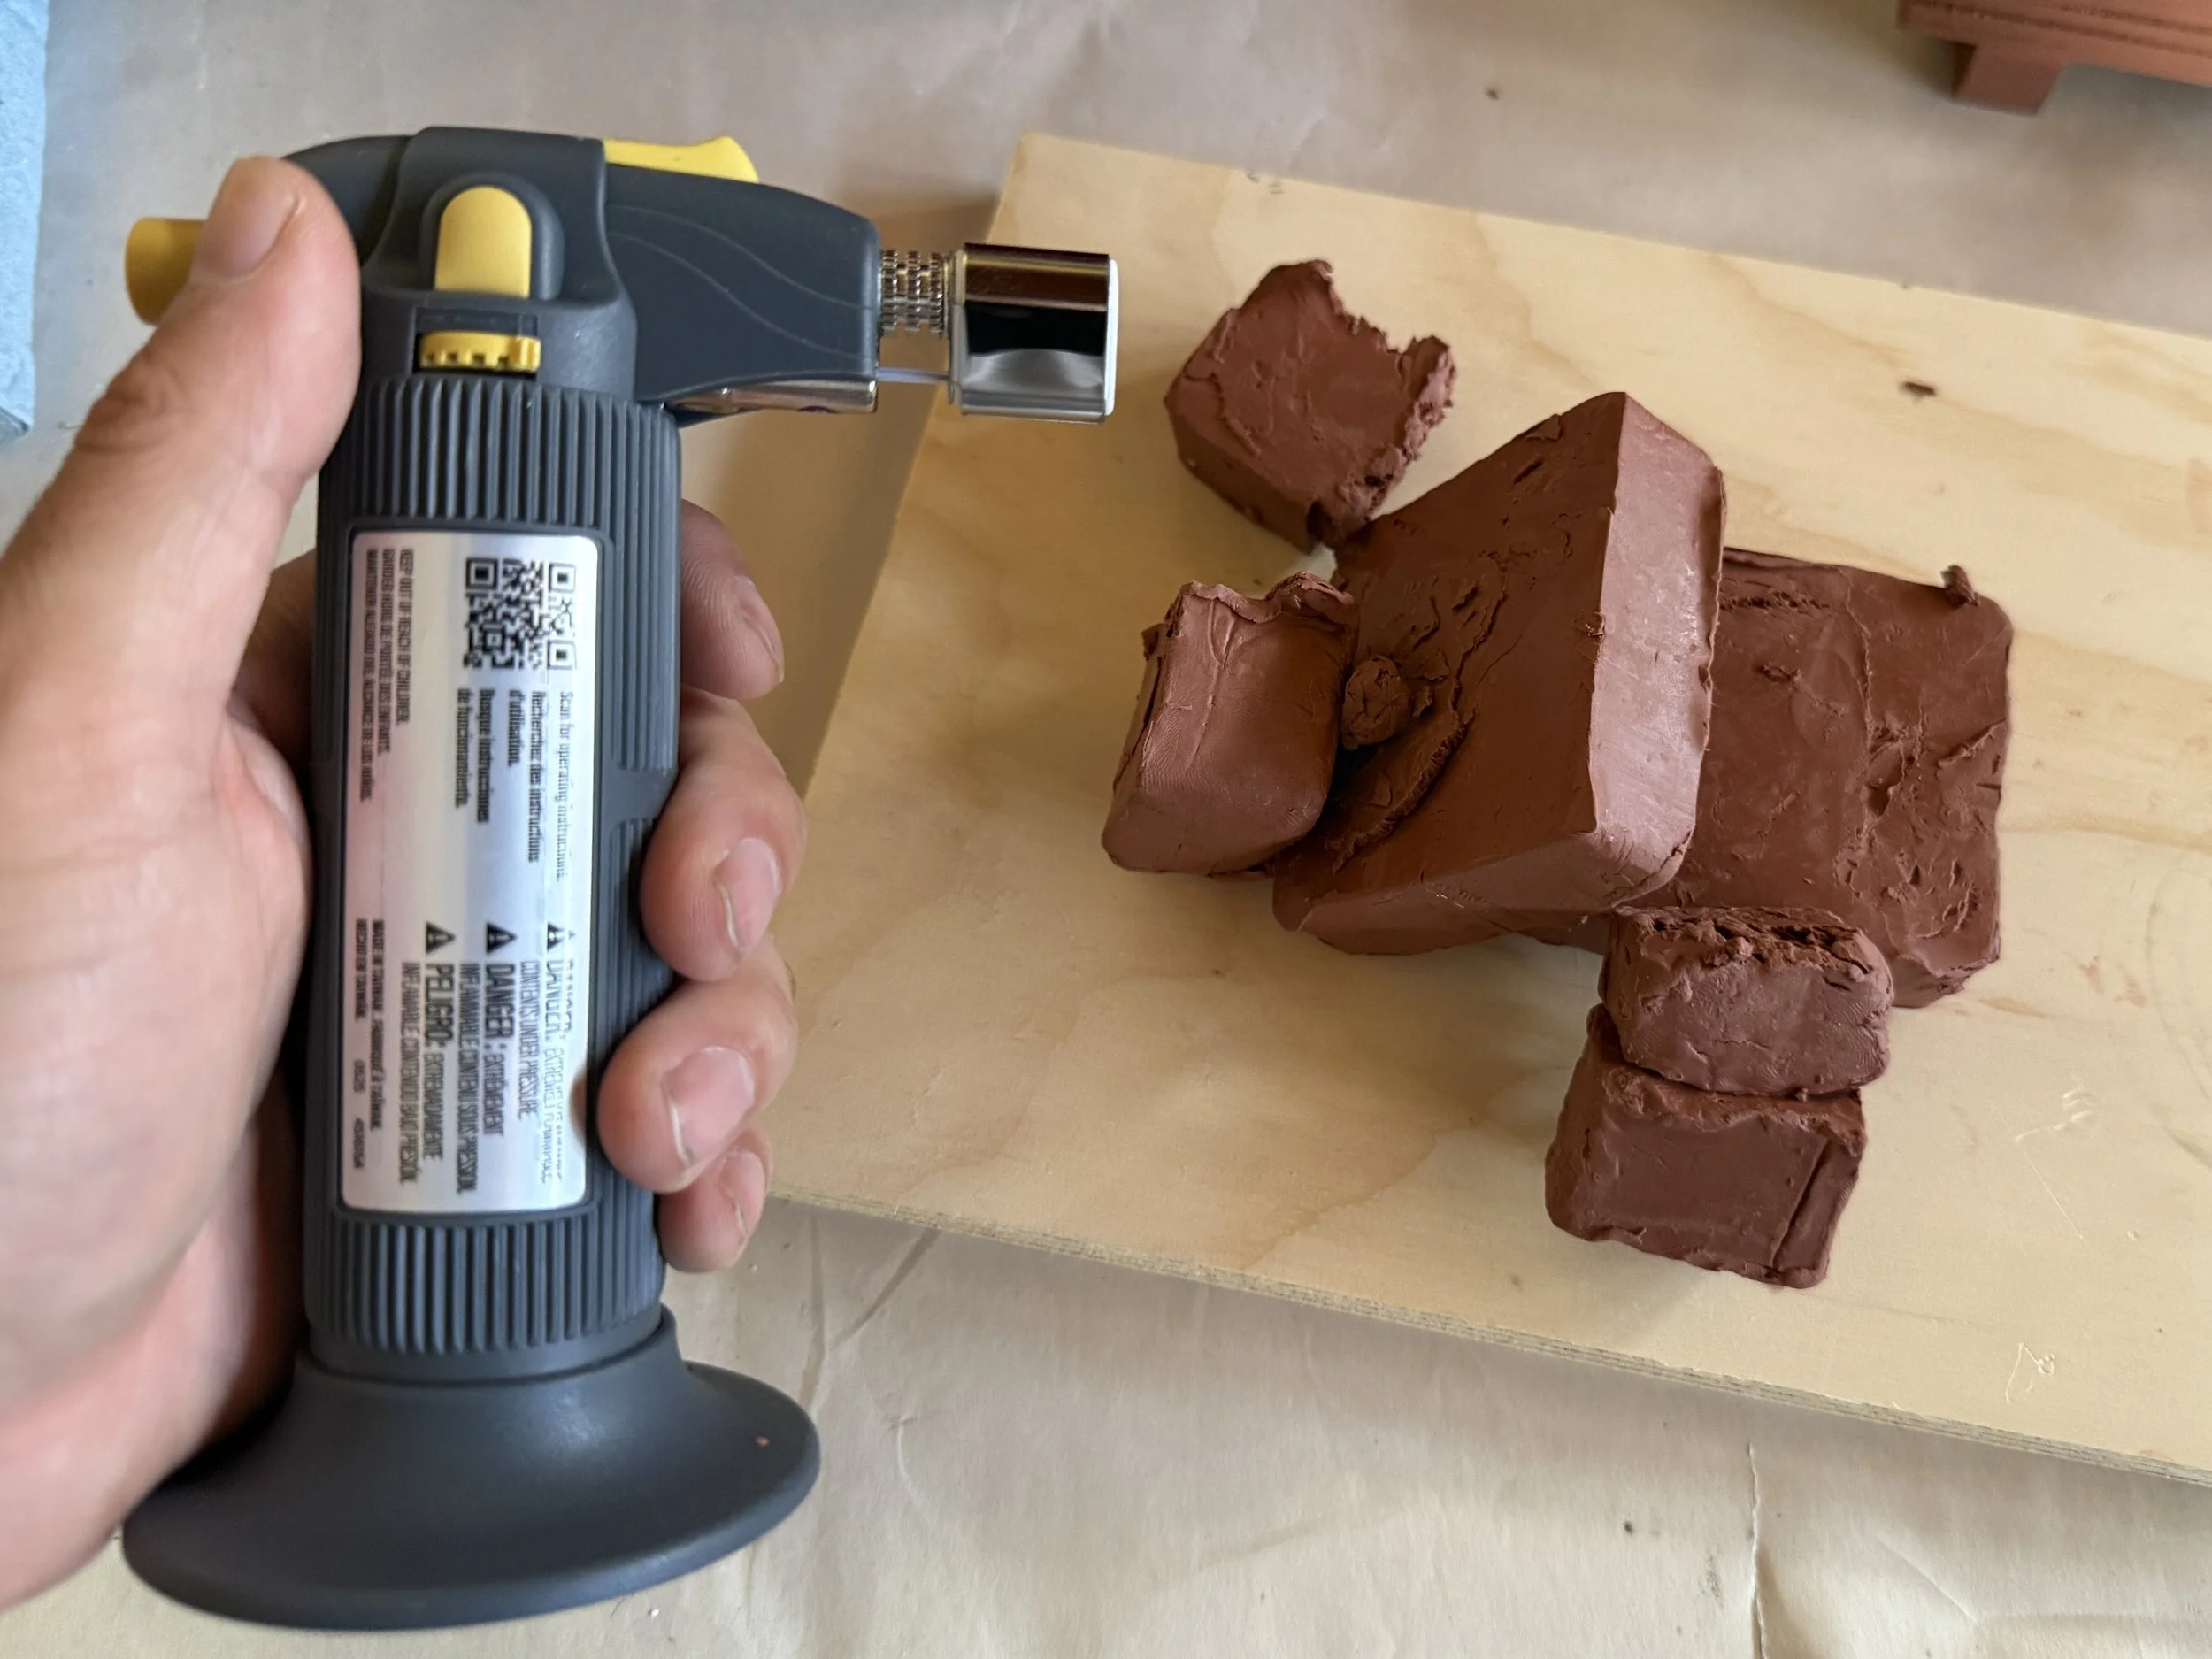
A torch is not used to warm an entire batch of clay. That would destroy the material.
However, a small torch can be useful when attaching pieces of clay together. Brief heat melts the surface slightly, which allows the clay to fuse when pressed together.
I use this technique when pieces break. Some clay just burns so test it before trying to melt it with a torch.
Important Warning When Heating Sculpting Clay
This is something every sculptor learns eventually. Clay should never be overheated.
Some modeling clays contain wax that can separate if the temperature gets too high. Once that happens the clay can become oily and difficult to sculpt.
To avoid damaging your clay:
Warm clay slowly
Use moderate temperatures
Always check the manufacturer’s instructions
Test a small piece before heating large amounts
Different clays behave differently. Monster Clay, Chavant, and other modeling clays each have their own temperature limits.
Final Thoughts
Once clay is warmed up, sculpting becomes much easier. Tools cut smoother, forms blend better, and the clay responds the way you expect.
The simplest way to soften clay is still sunlight. Heat guns can help in a pinch. Convection ovens and proofing ovens are the most consistent tools for warming sculpting clay in a studio.
Small steps like warming the clay before starting a sculpture can make the whole process feel smoother. And after doing it a few times, it just becomes part of the workflow.